Pretty, Pretty, Pumpkins!
Guest blogger: Julie Seiler
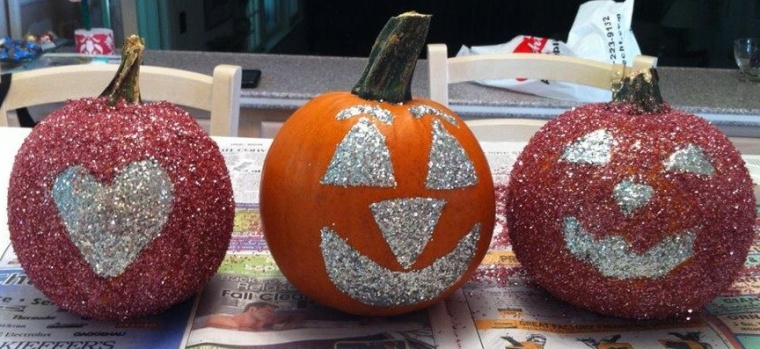
As my friends can attest, I typically love a dark, grim Halloween. But this year I was feeling a little more glam than goblin. So with the inspiration of Miss Martha Stuart, a dab of glue and a sprinkle of glitter, Halloween has never looked so beautiful! Whether you’re looking for a craft for the kiddies, outdoor décor, or a beautiful dinner table centerpiece, follow this DIY and bippity-boppity-boo your way to an impressive (and inexpensive!) Halloween!
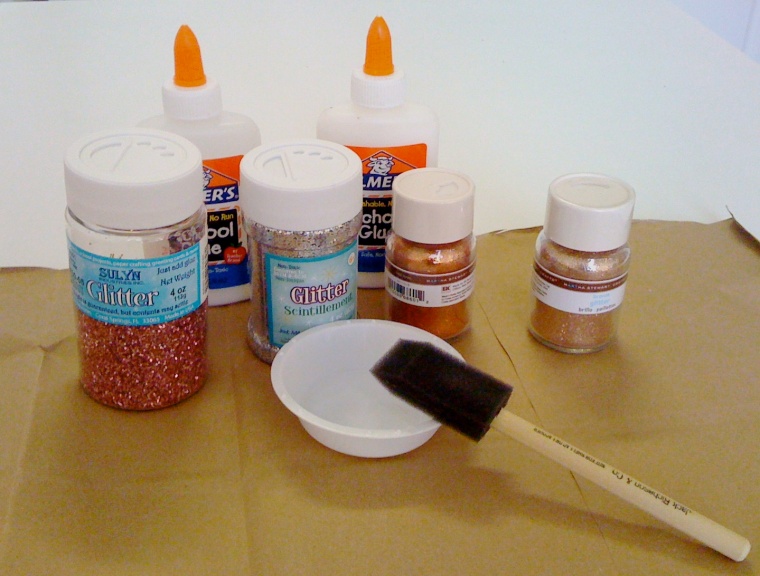
Materials
Elmer’s glue, $2
Glitter, $3-4
Pumpkin (5”-8” diameter), $1- $3
1” sponge brush, $1
Newspaper/brown paper shopping bag
Bowl, cup, lid (to hold glue)
Tin foil
Directions
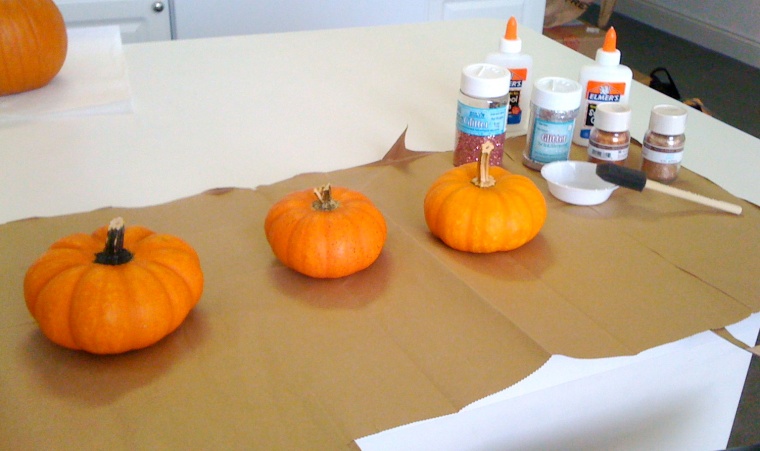
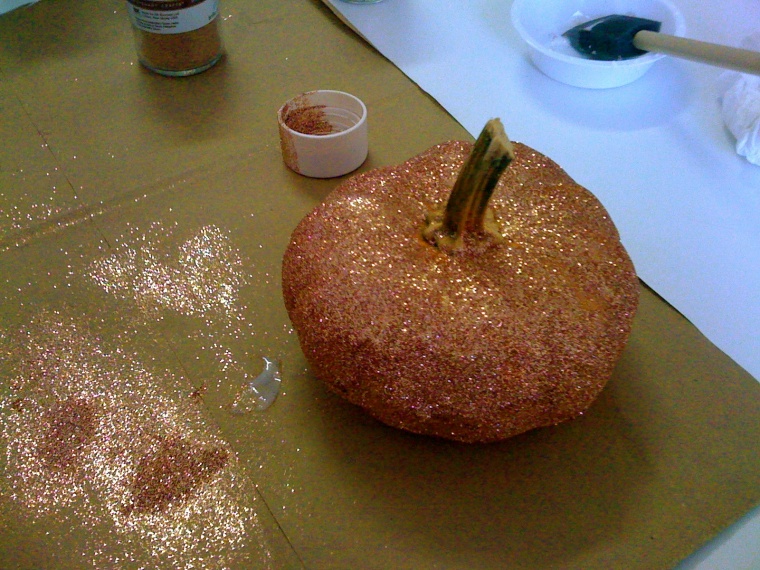
1. Lay newspaper down on your table/craft surface. (I also recommend using brown, paper shopping bags, as their already creased edges make it very easy to pour excess glitter back into the container. Just slice it up one side and cut off the bottom.)
2. Wash and thoroughly dry your pumpkin.
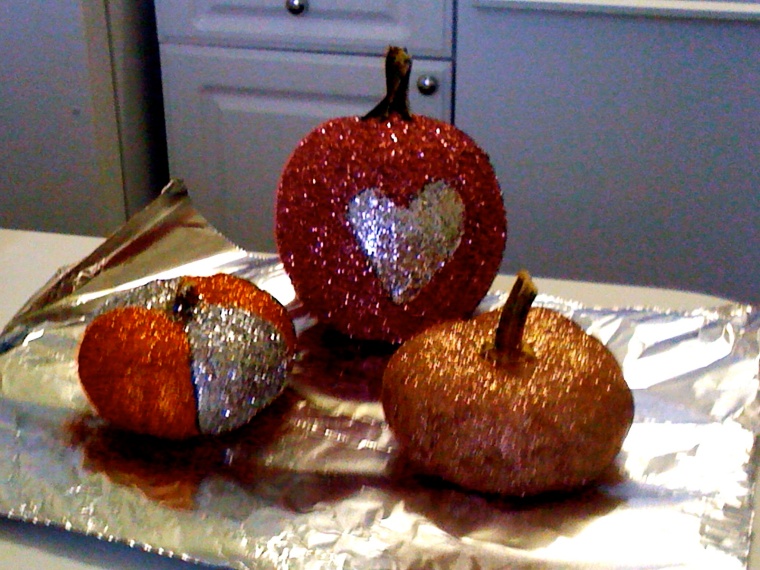
3. Feel like being fancy? With a pencil, draw or lightly impress the outline of your design directly onto your pumpkin.
4. Pour glue into bowl.
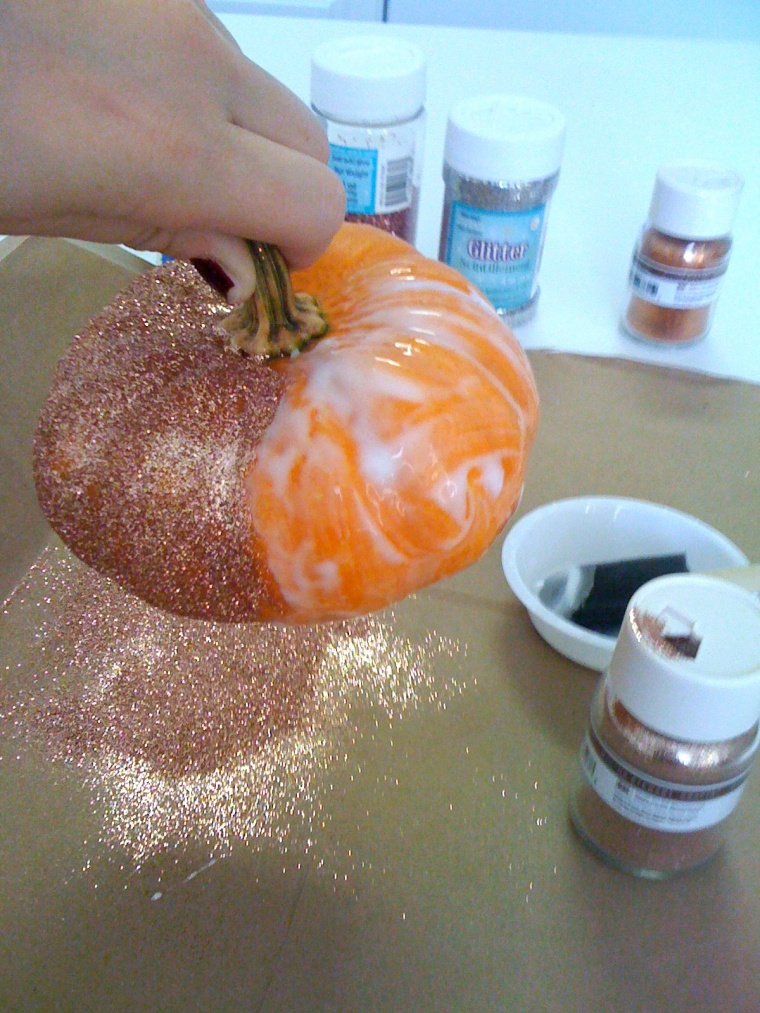
5. Using your sponge brush, generously apply Elmer’s glue to a section of your pumpkin. (You’ll have to use your judgment, as you do not want the glue to start drying.)
6. Generously sprinkle glitter atop the glue–Do not be shy!!! The excess glitter will be caught on your newspaper/paper bag and can be reused.
7. Continue steps 5 and 6 until you have a PRETTY, PRETTY, PUMPKIN!
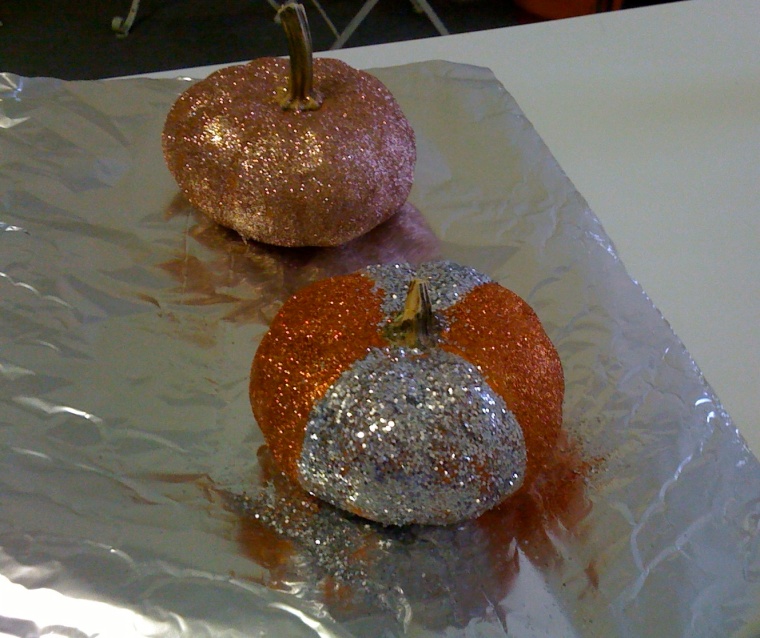
8. Lay on tin foil to dry.
Voilà!
Tip: It is helpful to have a buddy! As you continue to cover your pumpkin in glitter, it can get tricky to hold, glue, and glitter with just your two hands. It is doable, but if you have a friend, grab ‘em…..especially if you are working with a larger pumpkin!
ha! glitter is becoming popular again…LOVE it!
Ha this is brilliant! It’s my first Halloween in the US and I’m trying to get into it, I think glitter pumpkins might help :-))
http://www.styleonthecouch.com